Make your own Christmas lanterns by recycling glass jars: there are loads of easy projects you can try
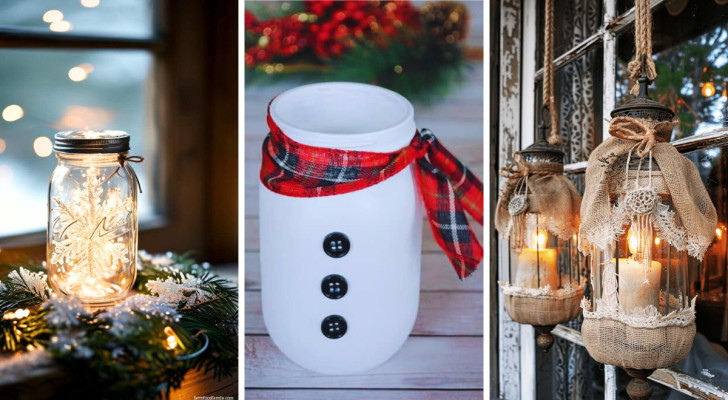
At Christmastime, there is a special, "magical feeling" created when illuminating our homes with lanterns, fairy lights and candles. So, why not do this yourself, using materials that you most likely already have laying around at home, such as empty glass jars? As you'll see below, turning a glass jar into a cute lantern - whatever its size or shape - can be done quite easily.
Let's check out some great, easy projects you can tackle:
1. With self-hardening modelling clay
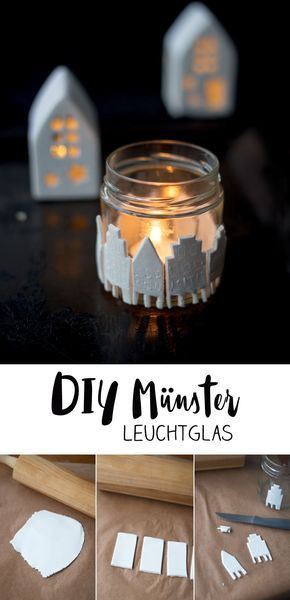
kreativfieber.de
Self-hardening modelling clay cures in the open air and there's no need to bake it in an oven/kiln. Given this, it's easy to use and perfect for decorating the outside surfaces of jars, as shown here!
2. Snowflakes
Farm Food Family
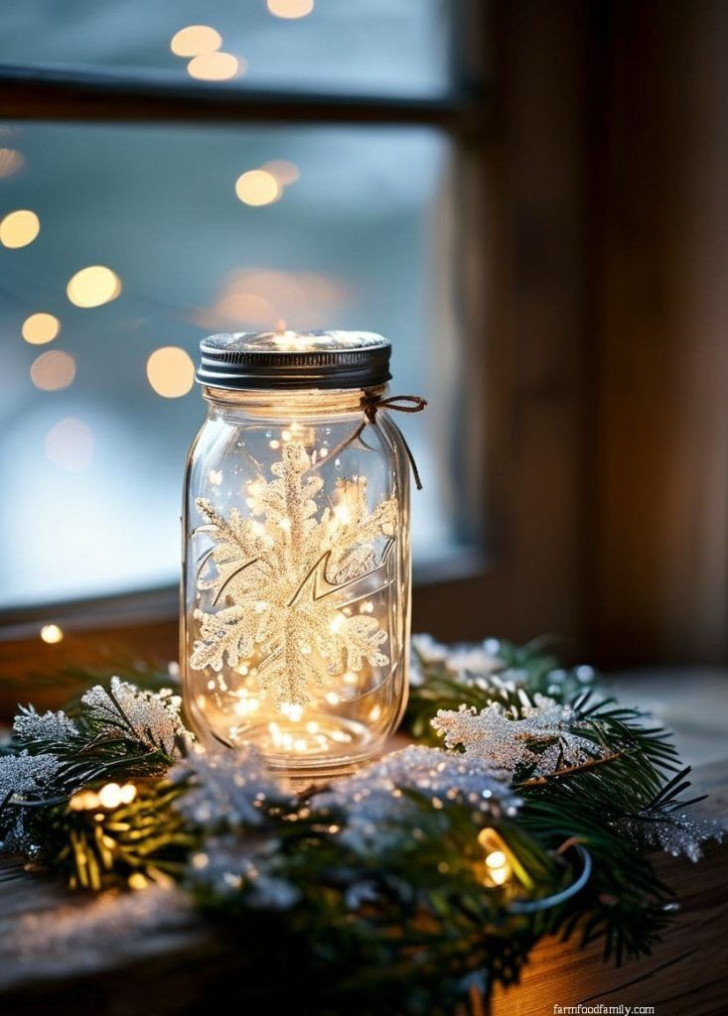
If you prefer to use electric lights instead of candles, you can decorate the insides of jars more easily. And wouldn't it be nice to show off a magnificent snowflake - like the one pictured here - in this way?
3. With decorations hanging above them
Maryn Branch/Pinterest
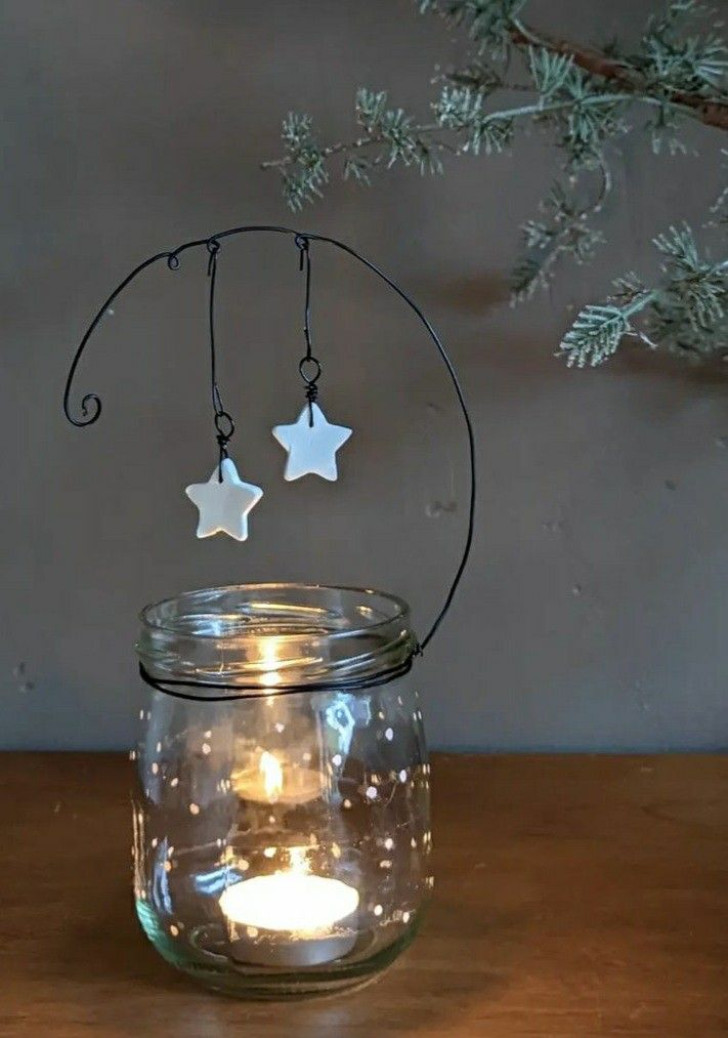
You can use wire or copper to make an arch that tops the opening of your jar lantern and from which you can hang your favorite (lightweight) decorations.
Remember, though, that if you use a real candle in your lantern, you'll need to make sure that whatever you hang over the opening of the jar is fireproof.
4. Markers for glass
zully de mayen/Pinterest
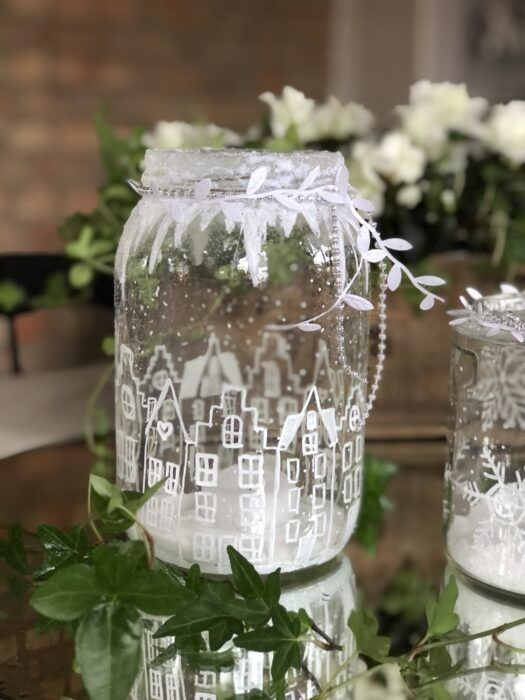
Get some markers that can write/draw on glass, and let your imagination run wild: festive script, animals, Christmas landscapes, and more, can be drawn on the glass. A very popular drawing is a depiction of a skyline of stylized Nordic buildings (just google urban views of cities like Copenhagen for inspiration!), as shown in the example here.
For an extra touch, you can also add artificial snow and/or glitter!
5. Christmas scenes
Anna Pia Mattioli/Pinterest
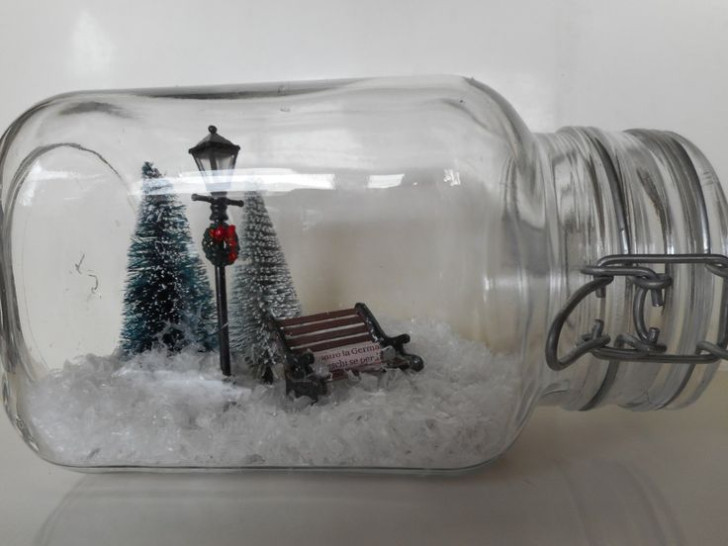
Want to make your Christmas jar lantern even more magical? Well, you can achieve this if the lights inside it reveal a carefully composed Christmas scene. And you don't need much: miniature Christmas trees, a toy car, a tiny bicycle, a model bench and, of course, artificial snow, are all you need to create a snowy village scene (like the one shown here).
And why not create this scene in a jar that's displayed on it's side (a bit like the classic ship-in-a-bottle ornaments)?
6. Decorating only the lids
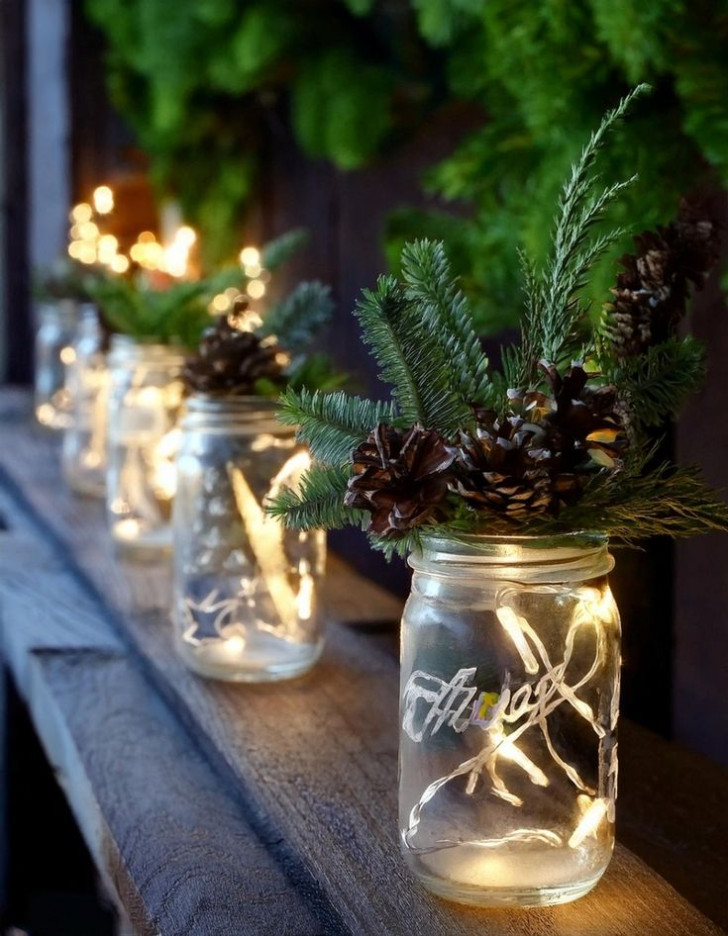
Your Crafts/Pinterest
Here's a super-easy way you can decorate a number of jars that can light up your staircase, shelves or the tops of pieces of furniture: place battery-powered fairy lights inside them and concentrate on decorating only their lids. You can easily glue pine cones, evergreen sprigs, seasonal berries, Christmas ornaments, and more to the lids!
7. Pages from books and sheet music
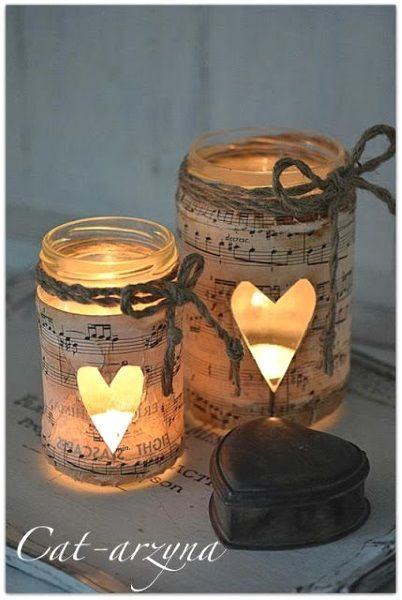
Creating My Happiness
Here's another quick and easy project using pages from a book or sheet music, scissors and PVA glue. Just remember to cut out a little "window" in the paper so you can see the fairy lights or the flame of the candle you've put inside your lantern!
8. Portable lanterns
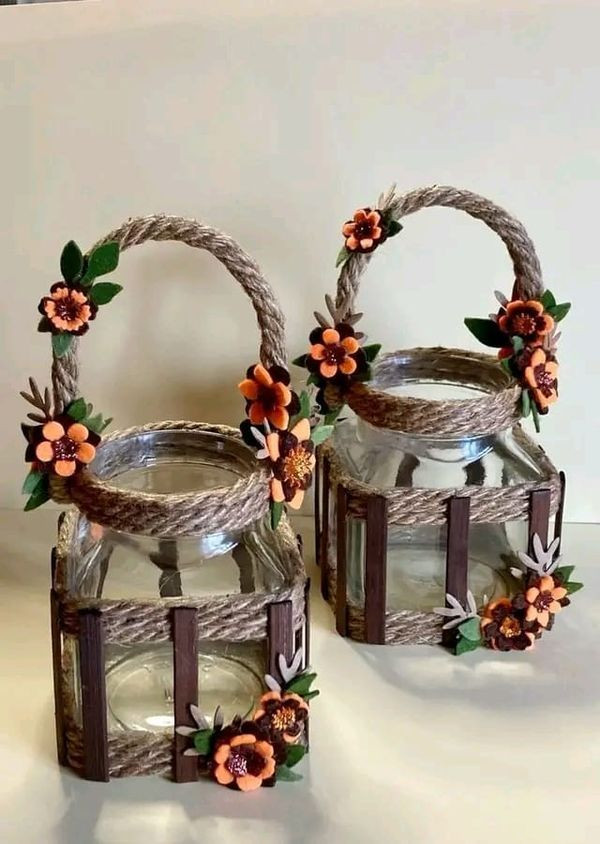
Alana Torke/Facebook
If you have some string, twine or rustic-looking cord, you can easily create portable lanterns like the ones shown here (with the cord serving as the handles). Add a "finishing touch" with some festive decorations to complete making these cute, portable lanterns.
9. The shabby-chic touch
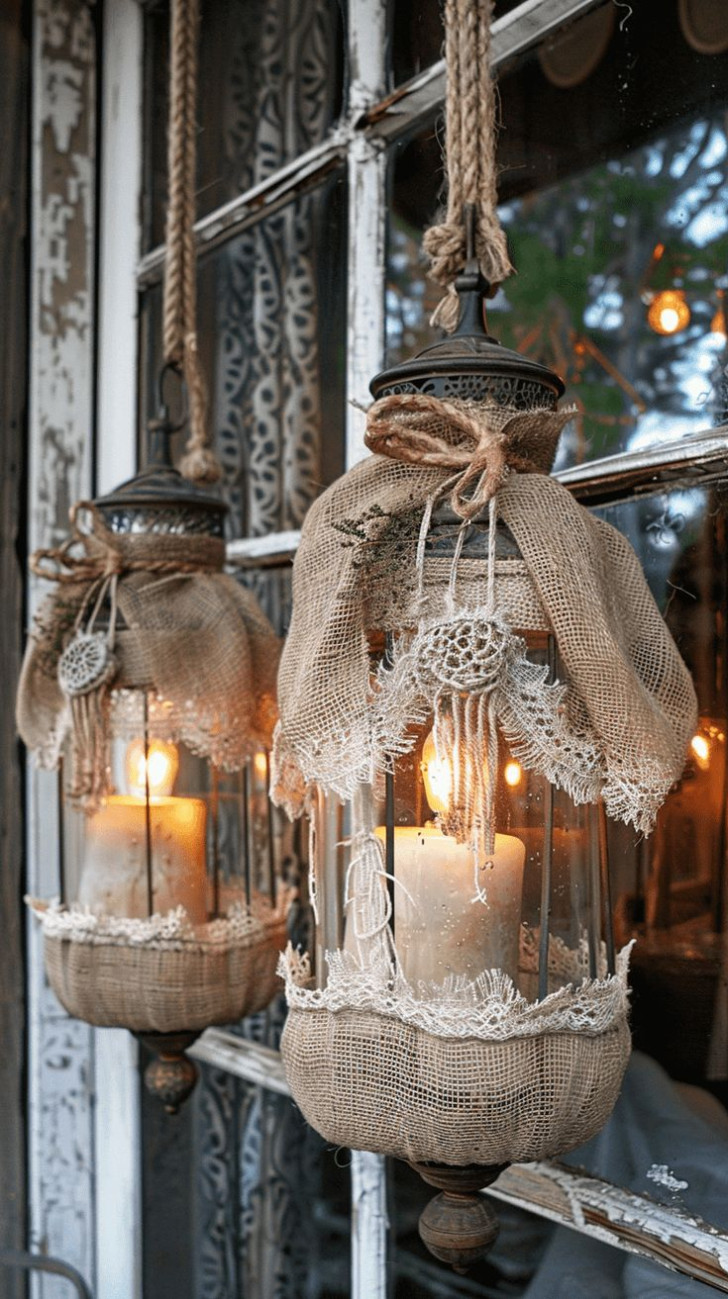
Marie | BeRightBack/Pinterest
By adding just a few pieces of burlap and lace, your lanterns will immediately take on a vintage, shabby-chic look!
10. Mood lighting above a table
aesthetic match/Pinterest
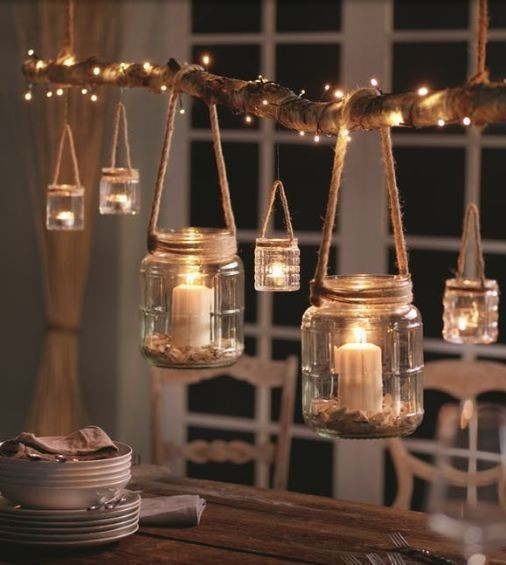
If you can suspend a branch above your dining table, you could hang jar lanterns (with candles in them) from it to make an impressive, DIY chandelier.
11. Villages in large jars
This Tiny Blue House
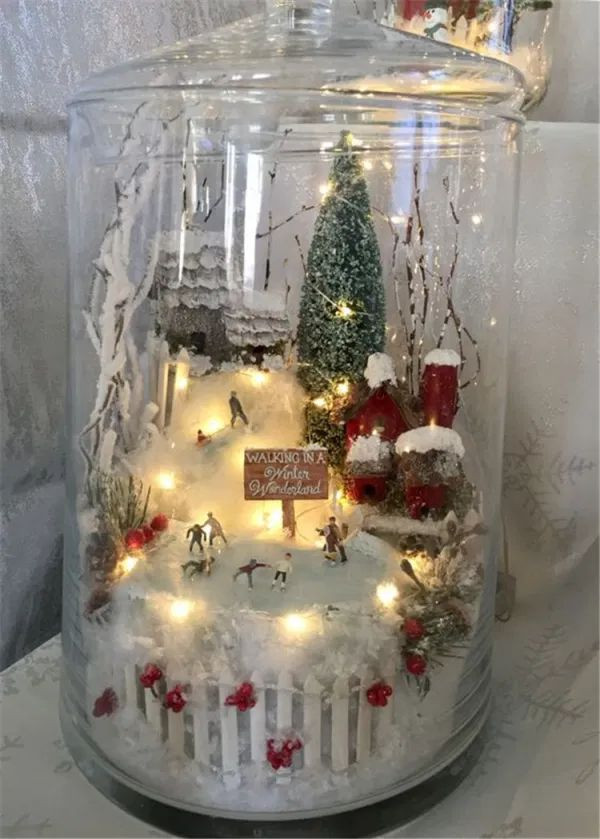
If you have some large jars, they'll be perfect for setting up snowy Christmas villages/landscapes inside them: in this example, model figurines of people are shown frolicking in the (artificial) snow.
12. An enchanted forest
Crazy Laura/Pinterest
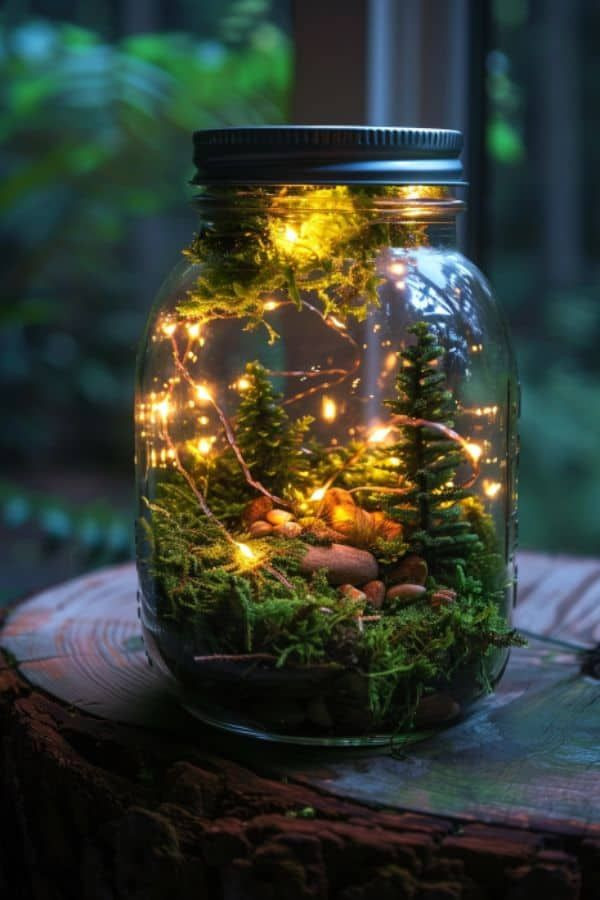
Not keen on snowy scenes? Then you might like the enchanted atmosphere of a miniature forest: recreate one in a jar by using moss, pebbles, fairy lights and miniature, model trees!
13. Snowman
Pjs and Paint/Pinterest
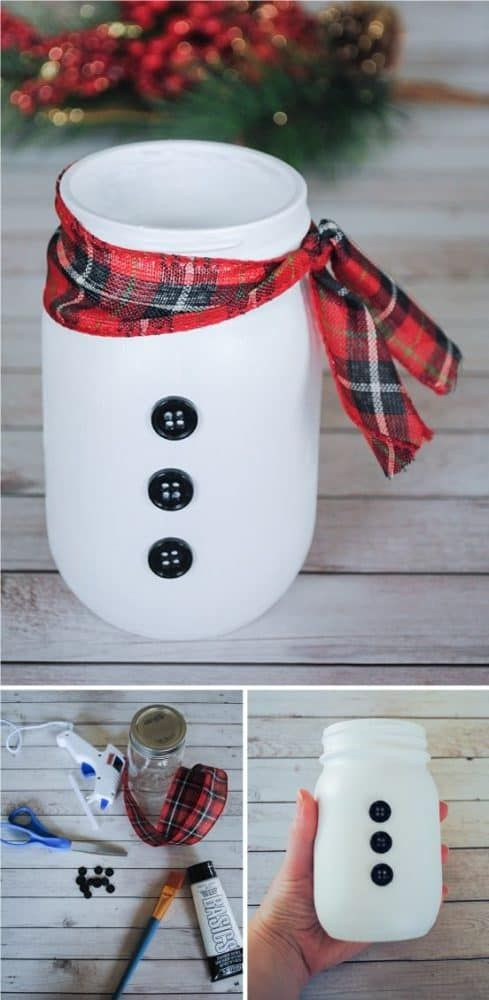
A little white paint, black buttons and some scraps of fabric are all you need to transform a glass jar into a cute snowman wearing a scarf.
14. Nature and lights
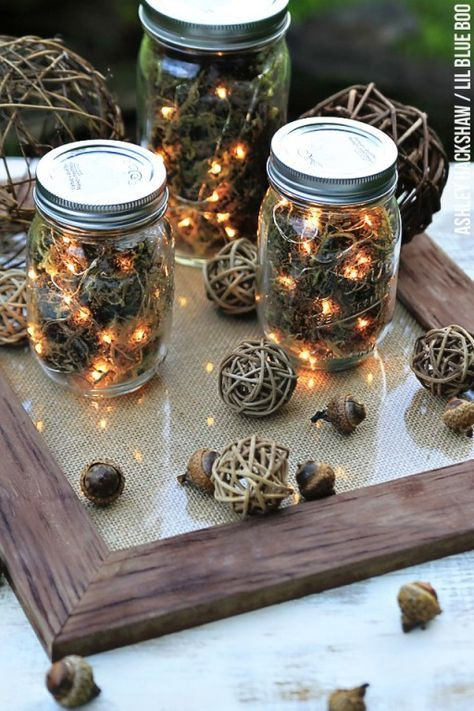
Ashley Hackshaw/Pinterest
For those who prefer a more rustic, natural look, glass jars can be filled with a "blend" of pine cones, moss, twigs and dried fruit and with battery-powered fairy lights providing the background illumination.
15. Snow globes
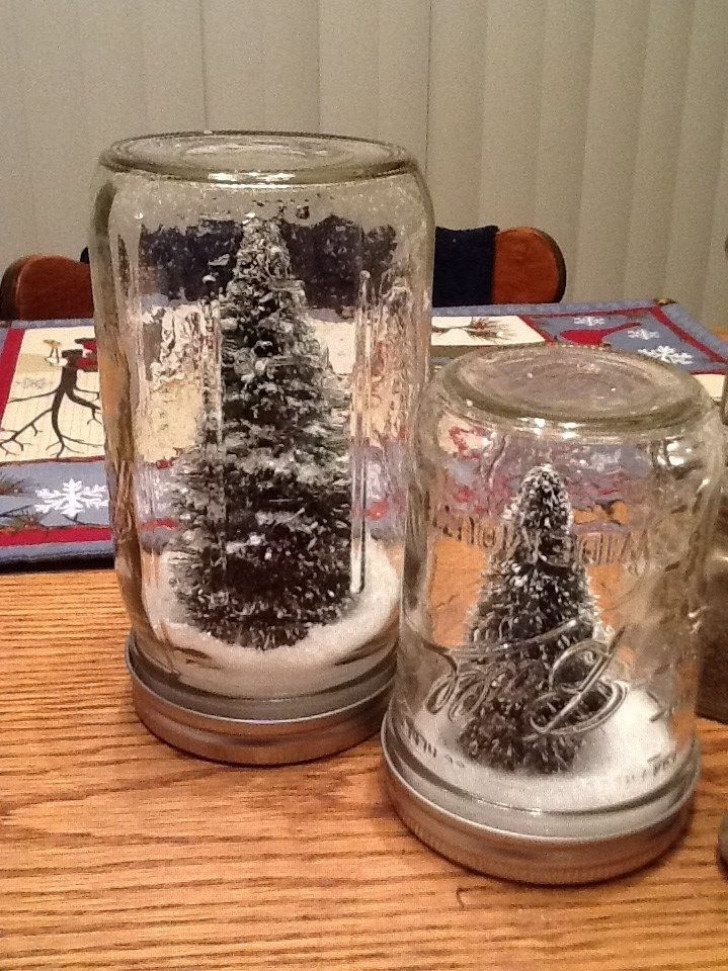
Ashley L/Pinterest
DIY snow globes: you can easily make a charming festive snow globe by simply gluing each element your Christmas scene to the inside of the jar's lid, adding a bit of glitter and inverting the jar - it's as easy as that!
For an even more stunning result, use waterproof glue to glue everything to the lid, then fill the jar with distilled water and a little liquid glycerin. Once done, add glitter (or whatever you want to use for the snow effect), seal everything properly, invert the jar and your "proper", DIY snow globe is done!
Happy Holidays!
