Grow garlic in plastic bottles to always have a supply to hand
Garlic is bulbous plant widely used in kitchens to add flavor to dishes. Garlic also has numerous beneficial health properties, including for the cardiovascular system .
You can always have garlic to hand by growing it at home. Doing so is very easy, even if you are not an avid gardener. All you need to start is just one head/bulb of garlic.
To start this project, all you need are some old plastic bottles and a garlic bulb.
Keep reading to find out how to proceed with this project:
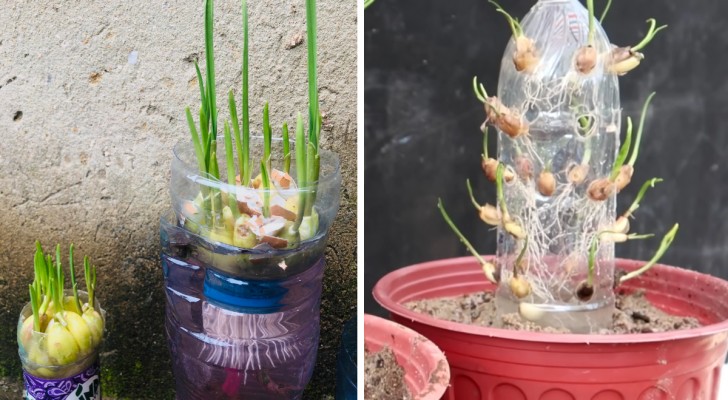
Preparing for growing garlic in a bottle
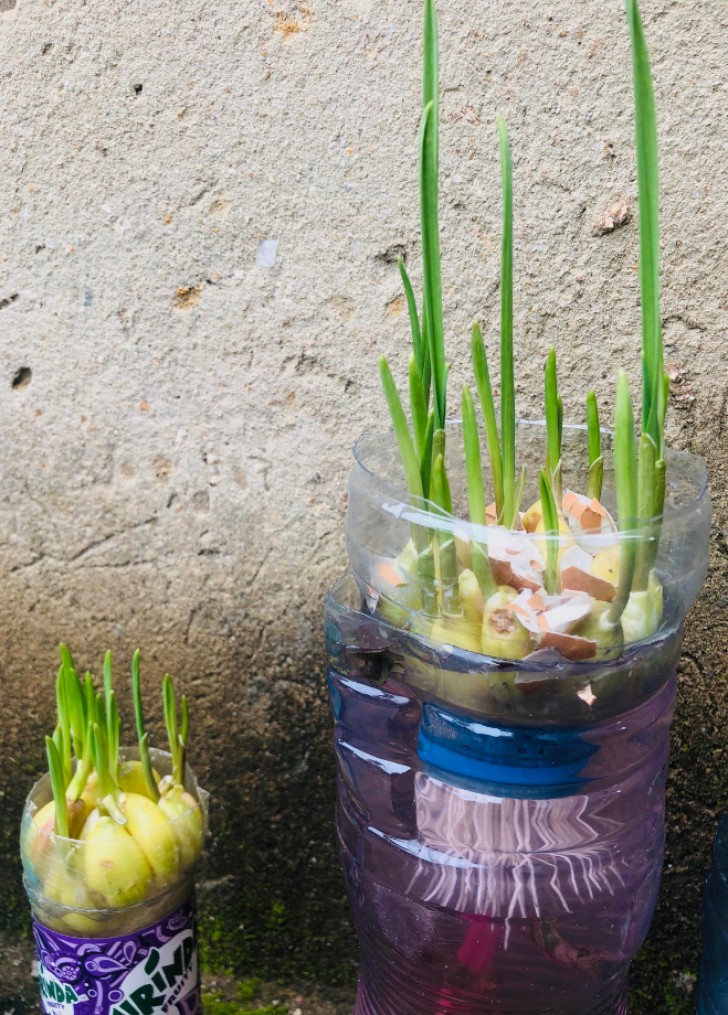
Start by cutting off the top of a plastic bottle, where the neck begins. Fill the lower part of the bottle with water and insert the neck (you just cut off) upside down back into the bottle.
Now it's time to prepare your bulb: remove the entire external skin, leaving only the thin film over the cloves and keeping the short stem intact. Then, with a sharp, sterilized knife trim off the upper and lower ends of the bulb. Next, insert the bulb into the neck in the bottle, so that only the lower part of the bulb is in contact with the water.
Change the water regularly so that it does not stagnate and in a few days, roots will start to appear. When they do, it is time for transplanting in soil. This is done by first delicately separating the individual cloves.
Plant the individual cloves about 3cm deep in well-draining soil, at least 6cm apart. Water regularly so that the soil remains moist and place the seedlings in a sunny place. For larger bulbs, cut off the stem (which can be used for cooking).
Growing garlic in bottles: a second method
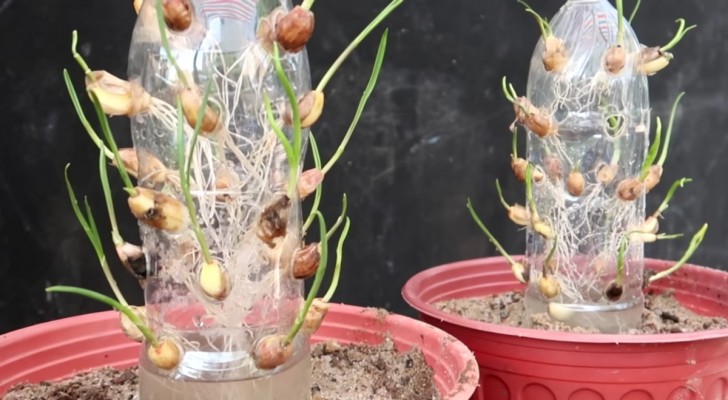
There are many ways to grow garlic in bottles: one way consists of drilling holes along the sides of an empty plastic bottle into which the individual cloves are inserted (after the skins have been removed and the trimmings made). Fill the bottle with water up to the first row of holes and place it in a pot filled with soil. Place a second, larger plastic bottle over the "garlic bottle" (after having cut off its bottom, of course). Water the soil around the larger plastic bottle.
By doing this, you will have essentially created a DIY greenhouse which will allow your garlic cloves to grow roots in about 2 or 3 days. After 10 days, the roots will be long enough and the cloves can be transplanted in soil.
Which method do you prefer to have a supply of garlic always ready?