Cleaning the keyboard: all the steps to follow to always keep it at its best

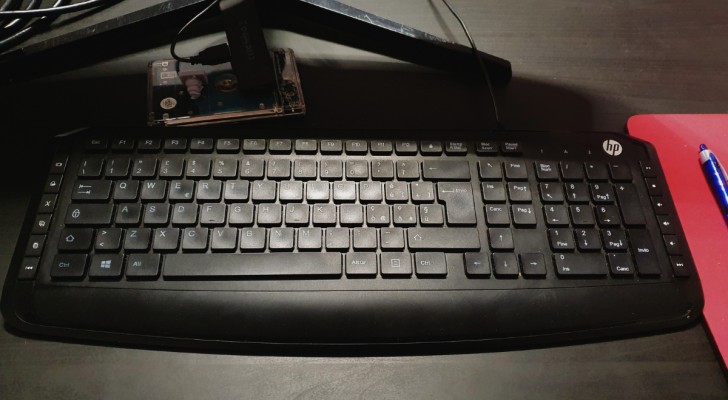
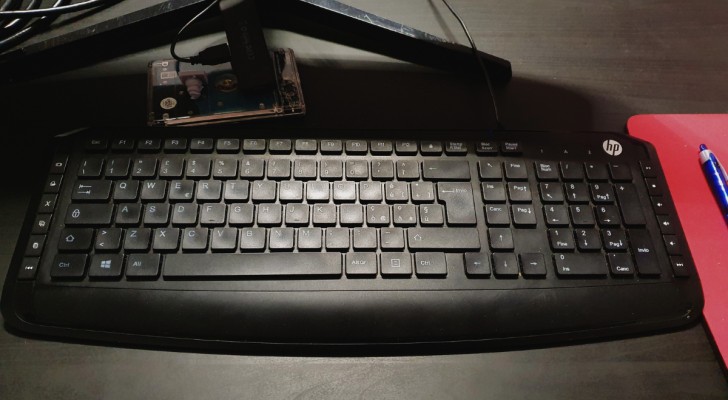
We use computers and tablets constantly these days. As a result, their keyboards pick up a lot of dirt and debris (and grease/oil from our hands). And many of us commit the cardinal sin of eating over our keyboards too!
As a result, many dirt fragments and debris get onto - or even under - the keys of the keyboards.
Eventually, this dirt build-up causes the keyboard to malfunction and we have to replace it. So, it's better to avoid this happening for as long as possible, right? And to do this, it's important to clean keyboards regularly. Let's see how to do this:
Cleaning keyboards: the steps to follow

Creativo
When cleaning a keyboard, it's obviously essential to avoid using water or wet cloths. For added safety, it's also better to disconnect the laptop from the power source (or the keyboard from the rest of the computer).
The first thing to do is to turn the keyboard upside down and gently tap it on a surface to dislodge all the larger pieces of debris. Once this is done, various methods can be used to remove the debris remaining between the keys.
Remove dirt between the keyboard keys

Creativo
The recommended method for removing debris from between the keys of a keyboard is to use compressed air. This means using a can of compressed air with a thin nozzle to insert into the "channels" between the keys and possibly also into the grooves between the keys and the keyboard panel, or even under the keys themselves if there is a significant amount of dirt.
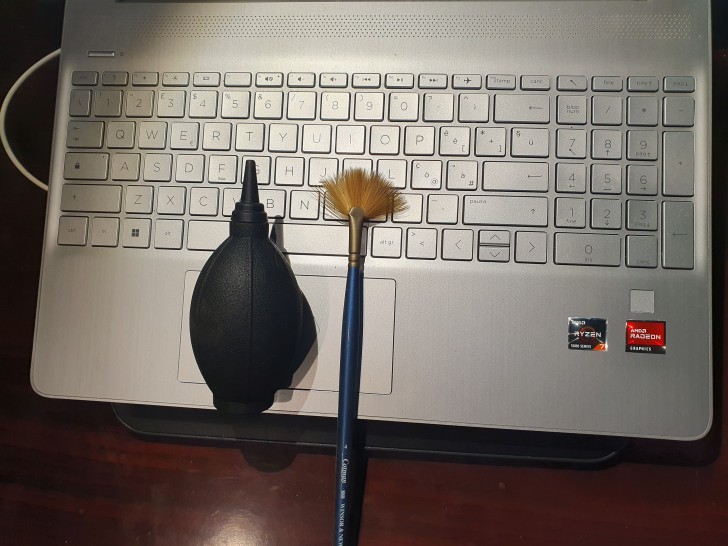
As an alternative, rubber bulbs that are mechanically operated by hand - similar to those used for camera cleaning - can be employed.
If you have a vacuum cleaner with attachments that can get between the rows of keys and effectively suck up the dirt, these work well too.
Many people also recommend a slightly sticky gel-like compound that can be spread over the keyboard. This gel lifts dirt without leaving sticky residue on the keyboard. Similarly, though with less guaranteed results, some use the adhesive side of a Post-it note between the keys.
Stubborn dirt spots?
If you notice spots and specks of dirt that cannot be removed in the ways described, avoid using liquids directly on the keyboard. You have two options you can try:
- A cotton swab soaked in alcohol - moist, not wet - which you will use to gently remove the dirty spots;
- A microfiber cloth on which you can moisten with alcohol or products for the cleaning electronic devices (those sold specifically for screens and keyboards). Never spray the products directly on the keys, but always on the cloth first. Be careful not to let any liquid drip under the keys.
If you take care of your keyboard, it will work better and for longer!