A step-by-step guide to make an old wooden table look like new again
When you want to restore the beauty of a table (or any wooden object), it is good to do it in such a way as to do a proper job and get the wood to a point where it looks as good as new. Sometimes, finishing touches also serve to make the most of reclaimed/recycled wood that has been used for a DIY project.
It is best to first prepare yourself with everything you need for this task and don't forget to follow some useful steps to get the most satisfying results from all your work. Read on about how to restore the beauty of wood which has become marked by time:
What is needed:
- A product to clean the surface before working on it. These can be all-purpose cleaners or a DIY remedy of your choice for the type of wood being cleaned. The important thing is that it cleans properly, degreasing and removing all the dirt and impurities properly. It doesn't matter if it is an aggressive product - you will only need to use it once to prepare the surface.
- A microfiber cloth or even kitchen paper to use the product will suffice.
- Sandpaper for sanding: you will need sandpaper with 60, 120 and 360 grits ratings.
- A hand sander block (one to be covered with the sandpaper) or an electric sander.
- A cloth for dusting.
- Wood oil (for nourishing and sealing).
- Primer - but only if you want to change the paint which is on the wood. If you do want to paint the wood, you will need a wood primer and then the paint itself.
How to proceed:
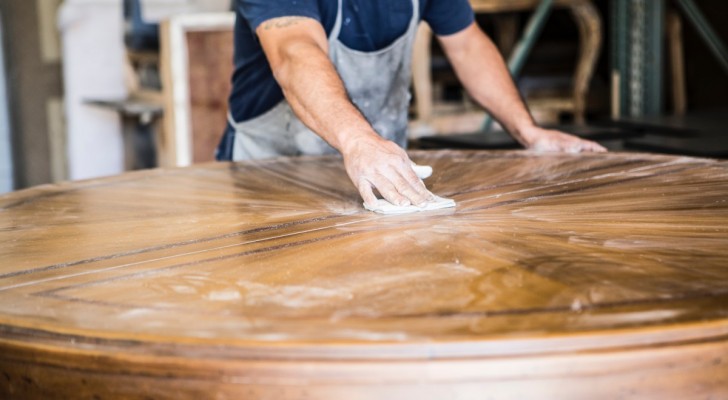
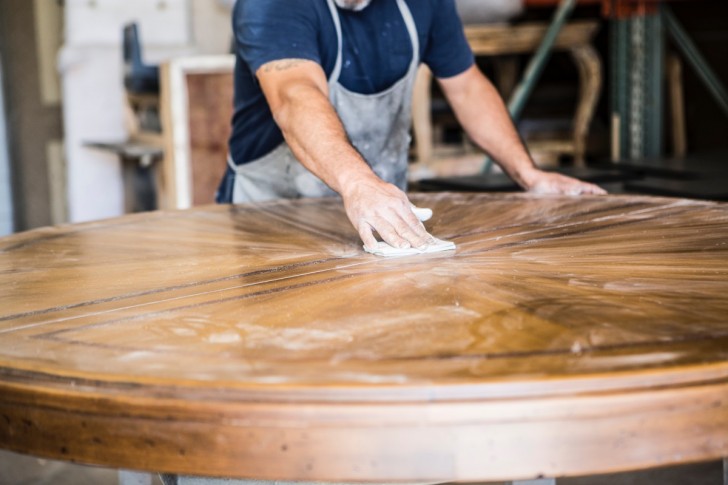
- Thorough cleaning of the surface: the wood will basically have to be stripped. So, it is not enough to just dust the wood lightly, but you must first remove all the dirt and then use the detergent to clean the surface properly. It is always advisable to spray the detergent on a cloth (or paper towel) instead of directly onto the wood, so that the latter does not soak up too much moisture which could cause it to deform.
- Remove any finishes: sandpaper must be used to return the wood to its rawest possible state. First use the coarser grit paper (using the hand sander or the electric sander, whichever you prefer), dust off all the sawdust that will be created using the dusting cloth, and then go back to sanding with the slightly finer grit paper (120 grit). Dust thoroughly again.
- Feed the wood: use one of the wood oils available to nourish the wood fibers and seal them. We recommend using tung or teak oil in general. Wait for the wood to soak up the oil and allow it to dry thoroughly.
- If you want the wood to take on a different hue, for example to give the impression that it comes from a different type of tree, then use an appropriate wood staining product.
Alternatively, you may want to protect the wood with a varnish. In this case it is advisable to do it after doing the oiling (but there are those who skip this step). However, when it comes to applying paint, it is essential to apply a coat of wood primer before starting with coats of paint. Once this base layer has dried, and before moving on to the painting, take the finest grit sandpaper and use it to smooth the surface, then remove any trace of sawdust: in this way, you will have prepared the base properly for the paint itself. Always take into account the drying times of each product and the minimum times to be left between any subsequent coats of paint.
When the paint is dry, the job will usually be complete. But you could also finish off with a further step - that of applying a transparent, protective coat (with a glossy or matte finish, as you wish). Following these steps, you will get a truly professional result.