How to best grow aloe vera and how to easily extract the precious gel
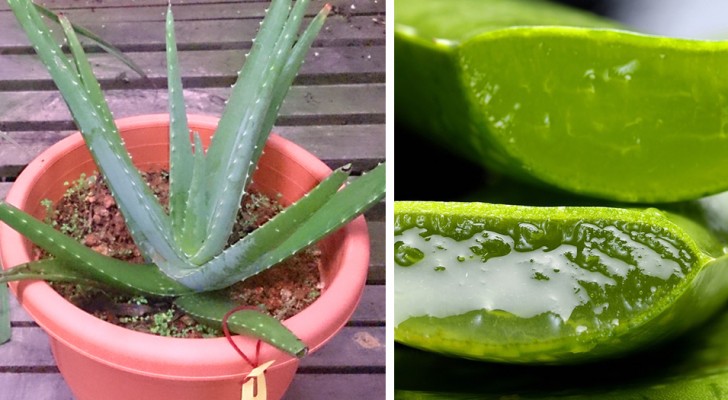
Aloe vera is perhaps the most famous succulent plant in the world, so widespread throughout the planet that its origins are unknown.
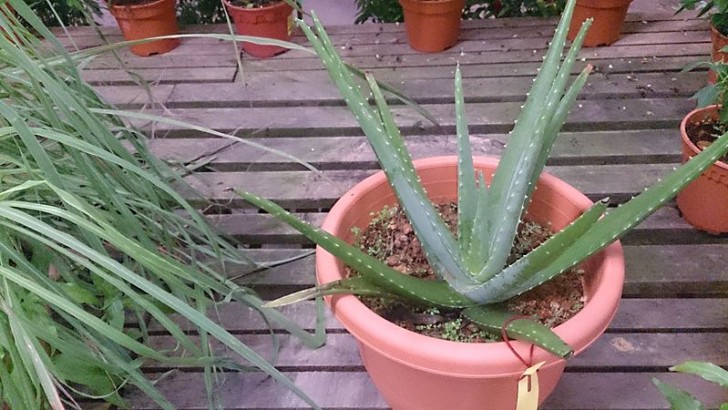
There are many varieties of aloe, but the one with the greatest beneficial properties is aloe vera, which has lanceolate, juicy, grey-green leaves (without variegation) and with a toothed and sometimes slightly pink-coloured margin. It has yellow tubular flowers that bloom in summer, while those of the other variety more widespread also as a houseplant (the arborescens), are red.
The gel obtained from its fleshy leaves is widely used in cosmetics, but it can also be used to treat burned skin after prolonged exposure to the sun (although there are people to whom it causes irritation, so it is always good to hear the opinion of a doctor).
Exposure and temperature
Aloe plants need plenty of sunlight and a temperature that is never too cold. It must therefore be placed in places in the house or garden where it can enjoy 8 or 10 hours of sunshine a day, perhaps near a window facing south or west if at home, or in parts of the garden or balcony reached by the sun. and sheltered from too strong winds.
As a succulent plant, it thrives in areas with even very high temperatures, but often manages to survive even slightly colder seasons by entering a phase of vegetative rest. However, the A. arborescens does not like direct sunlight for too many hours a day: the leaves, in fact, could burn, so it is advisable to place it in partial shade.
In areas where winters are severe, it is advisable to always move aloe inside the house for the colder months: below -4 ° the plant suffers damage from which it is very difficult to recover. If, on the other hand, the minimum temperature hovers an average of a few degrees above zero, most likely some leaves will be damaged, but the plant should still survive until spring, producing new shoots with the arrival of milder temperatures.
Topsoil
Aloe plants need a very draining soil: like all succulent plants, they do not tolerate water stagnation which would lead to root rot and rapid deterioration of the whole plant. Therefore, it does not need saucer, if not at most in the hottest periods of summer.
In case you need to repot, it is good to insert a layer of expanded clay on the bottom (alternatively, some stones), then fill the pot with ⅔ of universal soil mixed with ⅓ of river sand, which can be purchased in nurseries but even in building materials stores. There are those who want to make the soil even lighter and more draining by adding volcanic lapilli to the mix.
Irrigation
Depending on the time of year and the plant's exposure, the watering needs of aloe change a bit.
It is a plant that resists long periods of drought well, but this does not mean that it does not suffer from a lack of water: in fact, when too much time passes without being watered, the leaves begin to thin, and the gel inside them reduces to almost disappear entirely.
When it is hot and it does not rain, therefore, it must be watered at least once a week (in periods of sunshine even two), abundantly, unless the soil remains humid. For these plants, in fact, the golden rule applies that watering must only be done again when the soil is completely dry, even several centimeters below the surface layer. Just stick a finger in the ground to see if it is still wet, or buy special meters.
For this reason, during the spring or autumn the rains and the humidity at night can be more than sufficient, while in the winter the irrigation is even more spaced, and it can even take weeks before the soil dries out completely, especially in slightly damp houses.
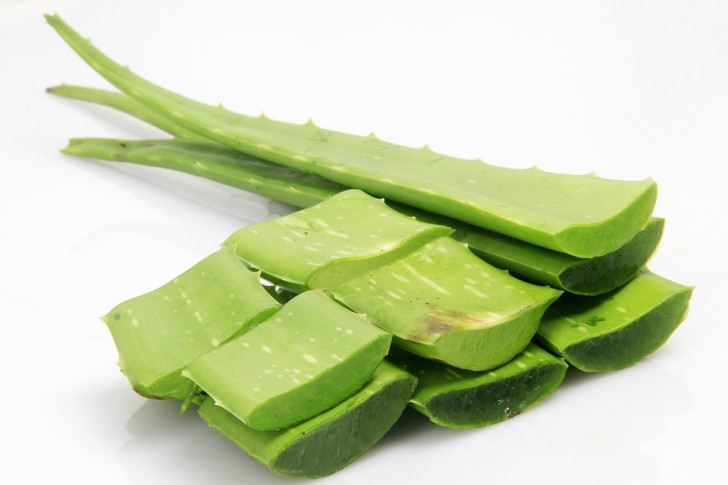
Bury and propagate an aloe vera plant
The root system of aloes is not very developed, and in fact in nature they are able to grow even among rocks or where there is not much soil. However, this means that, by producing one or more stems full of heavy leaves, the plants tend to lose balance and fall. In that case, it is possible to repot in a larger container, perhaps with the help of canes and sticks to keep the plant in an upright position or to propagate the mother plant by taking parts to create new pots with smaller specimens.
To plant them you need to bury the clod of earth with all the roots, deep enough for them to be covered but without letting the fleshy leaves go underground. You can also cover the ground with gravel or pebbles, to reduce water evaporation in summer.
Before the plant can be propagated, in general, it must have grown enough to get to take possession of the whole pot. At that point you will notice that new seedlings sprout from the ground, as if they were smaller leaves: when they reach a height of at least 10 cm they are ready to be placed on the ground in a new pot. To pick them up you need to use a very sharp and sterilized knife, dig delicately with your fingers around the base of the plant to understand where it joins the mother plant and cut precisely, detaching the plant without tearing or twisting.
Leave the plant to air dry for a week (or at least 5 days) so that a sort of film forms on the cut part, and at that point you can bury it simply by making a hole in the ground of the new pot and inserting the young specimen. Also have a stick or pebbles ready to help keep it straight so that it develops roots well.
The newly propagated cutting should not be watered for 15 days, and from then on it should be treated as an adult plant.
Possible problems of aloe vera plants
Aloe vera is a plant that is fairly resistant to diseases and parasites. It may rarely happen to notice the presence of cochineal or powdery mildew, parasites or mites.
In the event of floury cochineal, spray water on the leaves and then remove everything with a soft cloth.
For parasitic insects (usually small brown animals), mix 1 tablespoon of soft potassium soap, 240 ml of isopropyl alcohol and 240 ml of water, sprinkling the mixture on the plants every 3 days for two weeks.
For mites, cut off the damaged leaf part to contain the spread.
Other pathologies:
If the leaves tend to grow flat or down, the plant needs to be moved to a brighter spot; if the leaves turn brown it means that they are burning from too much exposure to the sun; if the leaves are very thin and curled, check the soil: the plant most likely needs water.
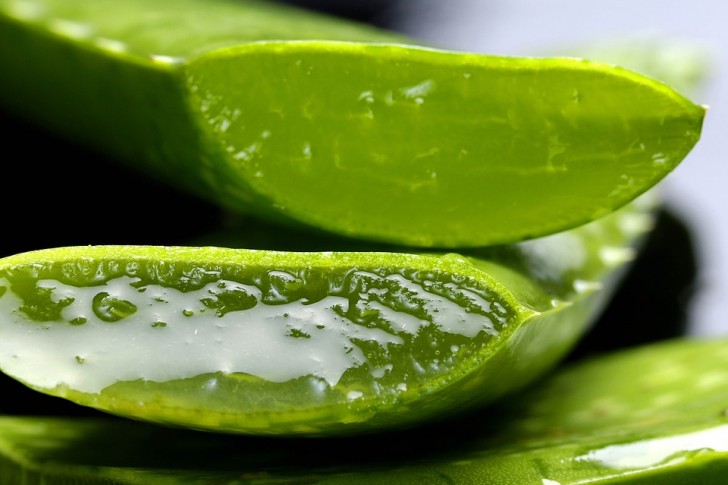
How to collect aloe leaves and extract the gel
It is worth remembering that aloe plants are slow growing, so you should never pick leaves before they are adult and well branched, and even then without overdoing and stripping the plant.
To pick up a leaf, it is necessary to gently squeeze the base of the leaf itself, near the trunk, and try to detach it from the stem without breaking it, indeed taking away the thin part that wraps the stem itself.
To extract the gel, cut a small piece at the base of the leaf and hold it vertically so that the aloin (a yellowish substance) flows out of the cut. Then with a sharp knife remove the toothed edges of the leaf, spread it out on a shelf and remove the skin of the same a bit like a fish fillet, until all the internal whitish pulp is exposed.
Alternatively, after removing the toothed edges, you can cut the leaf in half, obtaining the two halves with the pulp exposed, and then remove the latter by gently scraping with a spoon or teaspoon. The gel can then be used immediately, or frozen.
Ready to grow your own aloe plant?
